
DIY Christmas Ornament: Make a melting snowman
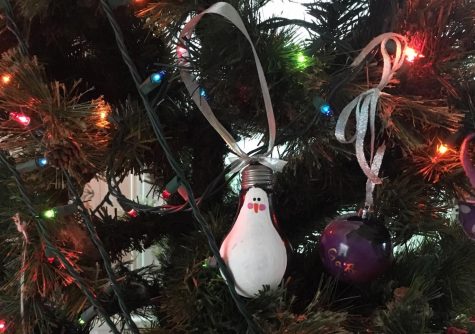
Is your tree missing something special?
Well you have come to the right place! This DIY is making a melting snowman ornament. This ornament would be a great addition to your tree, and a fun conversation starter compared to a regular snowman you can find at the store. This would also be a great ornament for a Christmas ornament swap! Surely an ornament no one else has.
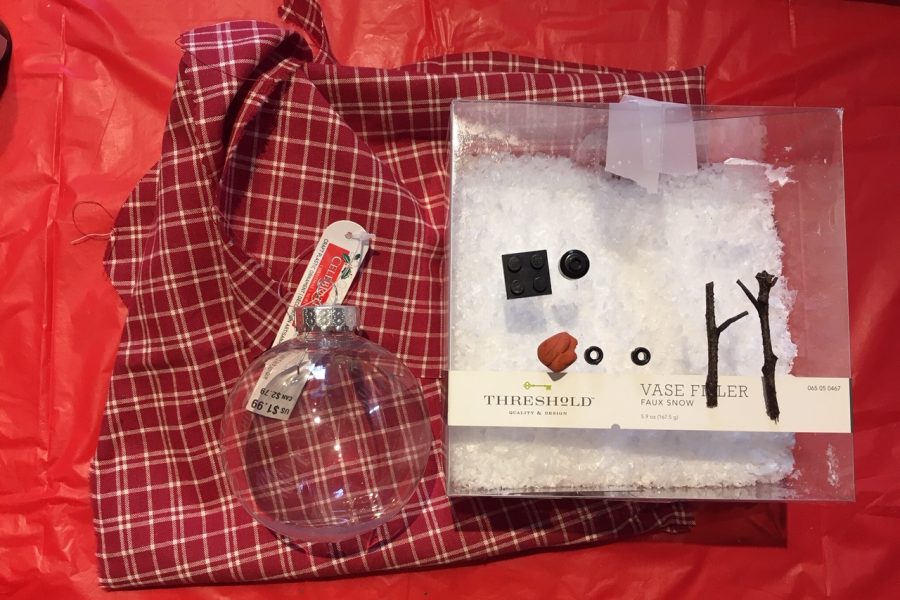
Materials:
- Clear Plastic Ornament
- Fake Snow ( you can buy some at any craft store)
- Black LEGO pieces
- Twigs
- Black Beads
- Orange modeling clay
- Small piece of plaid fabric
- Funnel
- Ribbon
Step 1: Collect some twigs outside that can be used as snowman arms (I found some sticks, and cut off tiny parts to look like snowman arms)
Step 2: Take the orange modeling clay, and shape the clay into the shape of a carrot. Then take a toothpick and draw some lines in clay to complete the nose
Step 3: For the hat, take black LEGO pieces to build the hat or just anything that resembles a snowman hat. (I used a black square and a Lego person head I painted black)
Step 4: Cut a little strip of fabric to make the scarf
Step 5: Take the funnel and put the fake snow into the ornament
Step 6: Place the eyes, nose, arms, hat, and scarf into the ornament
Step 7: Cut the ribbon to your desirable length, and tie a knot at the top
Step 8: Attach the ribbon to the ornament
Now, you’ve finished and have ended up with a funny and new ornament to hang on your tree!
Your donation will support the student journalists of Linganore High School. Your contribution will allow us to purchase camera/recording equipment and software. We hope to raise enough money to re-start a monthly printed issue of our paper.